
The Best Food Storage Containers of 2026
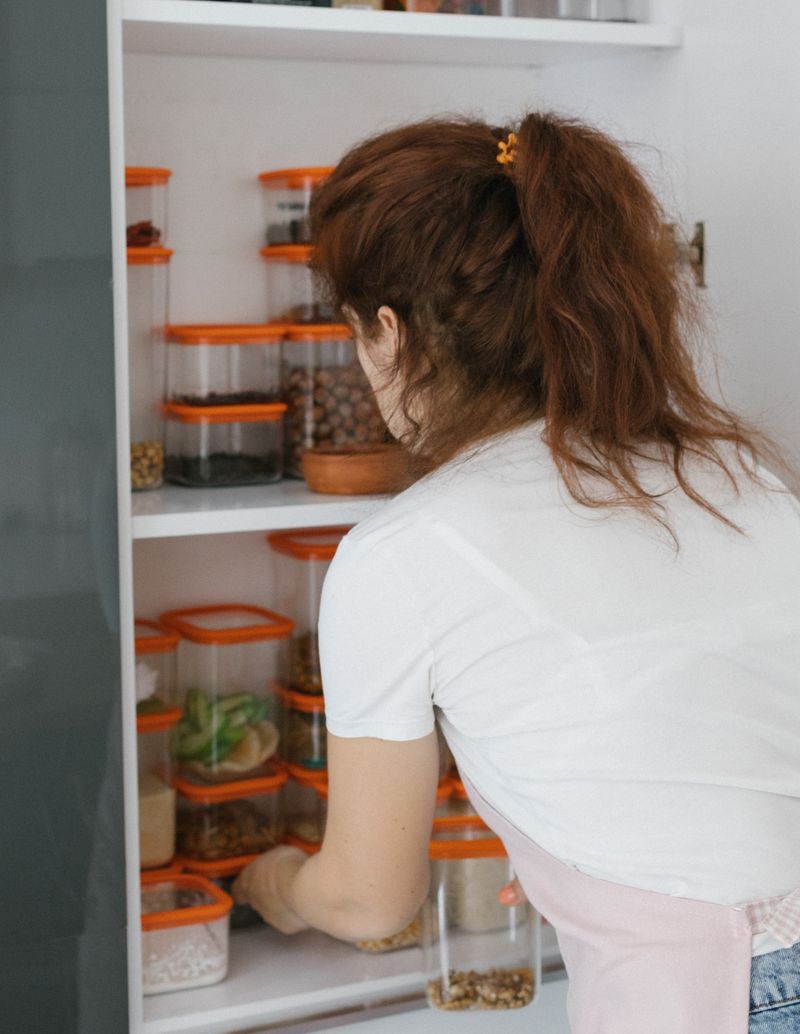
The container drawer is where good intentions go to die. It starts with one nice glass set, then a takeout tub gets kept "just in case," then a lid loses its base, and within a year you own thirty pieces that don't stack, don't match, and don't have lids you can find. In a small kitchen that drawer isn't just annoying — it is stealing cabinet space you cannot spare, because mismatched containers waste the gaps between them and unmatched lids need a whole separate pile.
The fix is not more containers. It is fewer systems, chosen well. A container earns its place in a small kitchen if it does one of three things: it stacks with its own kind so a shelf holds more, it seals well enough to actually extend how long food lasts, or it turns dead space — a deep fridge shelf, a bare pantry wall — into reachable storage. We pulled the picks below from the categories that matter most, keeping only products with strong organic review histories on Amazon in 2026. Fourteen containers, sorted by the job they do, plus the buying rules that keep the drawer from filling back up.
Sorting the whole pantry, not just the containers? Start with the five-zone pantry method →
The everyday sets — leftovers, prep, and dry goods (1–4)
1. A borosilicate glass set — the one to buy first
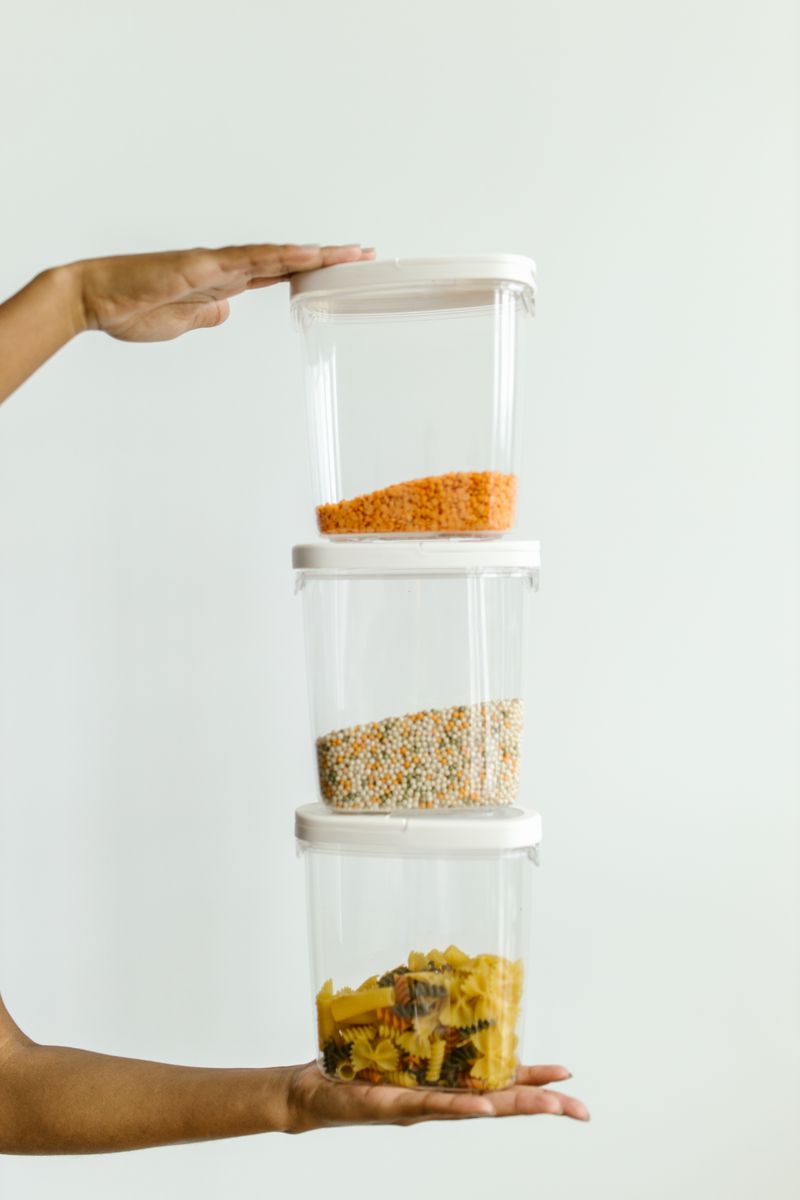
If you replace only one thing, replace the mixed leftover tubs with a single matched glass set. Borosilicate glass takes the jump from fridge to oven without cracking, never stains from tomato sauce, doesn't warp in the dishwasher, and won't hold onto last week's curry smell the way plastic does. A 24-piece set with nesting bowls and matching airtight lids covers leftovers, prep, and serving in graduated sizes that stack down to almost nothing when empty. Look for glass rated for oven use and lids with four locking tabs plus a silicone gasket. See it on Amazon →
2. A modular airtight canister set for the pantry
Loose bags of flour, sugar, rice, and cereal are the reason pantry shelves look chaotic and the reason half of it goes stale. A modular airtight canister set decants dry goods into square containers with one-press seal lids that lock out air and pantry moths, and — because the footprints are standardized — they line up flush with no wasted gaps. A big multi-piece set covers a whole pantry at once, and the square shape is doing real work here: round jars leave triangular dead space between them that square canisters don't. Buy the graduated set and give the largest containers to flour and cereal. See it on Amazon →
3. A workhorse plastic set for the freezer and lunchboxes
Glass is wrong for two jobs: the freezer, where a dropped frozen container shatters, and the lunchbox, where weight and breakage matter. A large stackable plastic set with interchangeable lids handles both cheaply, and the good ones now use one lid size across several base sizes so you stop hunting for a match. This is the set that lives in the deep rotation — batch-cooked portions in the freezer, sandwiches out the door — so buy a big multi-piece set rather than a precious few, and accept that these are consumables you'll refresh every few years. See it on Amazon →
4. A cereal and dry-goods canister set for the tall stuff
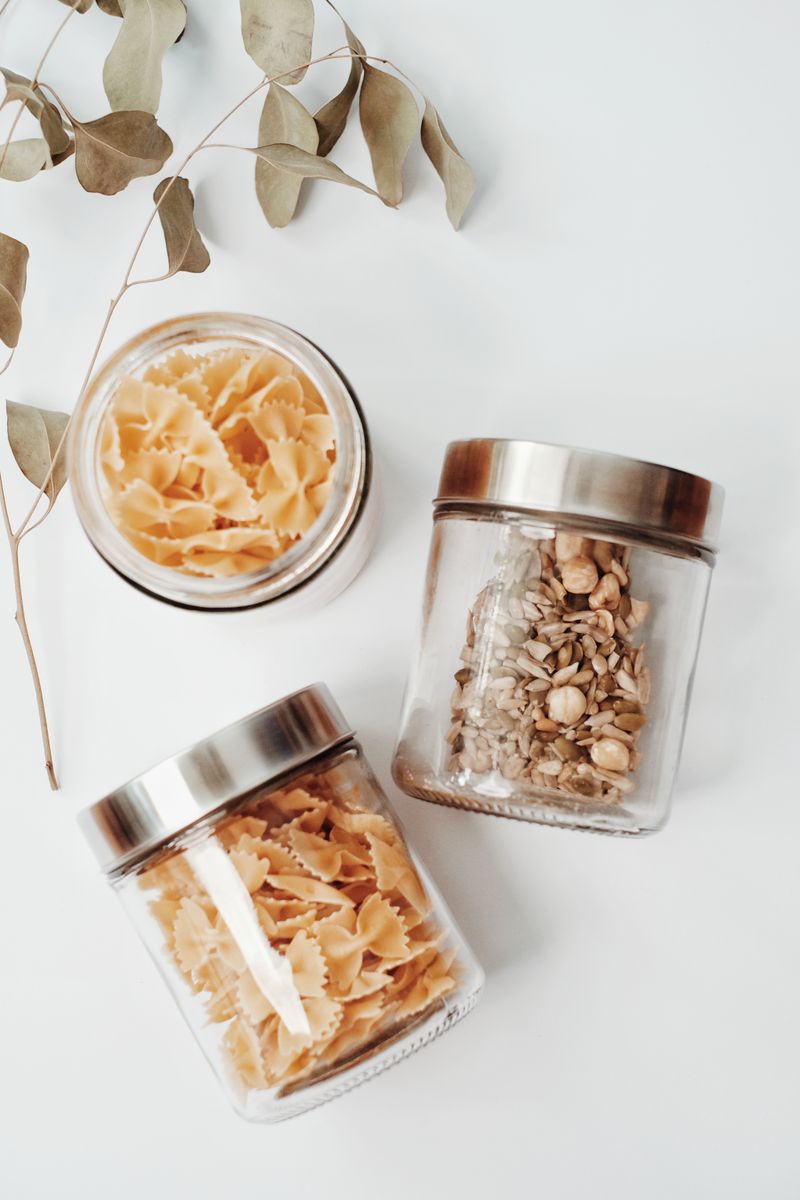
Cereal boxes are the worst-shaped object in any pantry: tall, tippy, and half-empty air. A set of tall airtight cereal canisters pours the box contents into a container that fits the shelf, keeps the cereal crisp for weeks longer, and shows you at a glance when you're running low. The same canisters swallow pasta, rice, flour, and pet food, and their flip-top or pour spouts make them the one dry-goods container people actually keep using after the novelty wears off. Measure your tallest shelf gap before ordering — these run tall on purpose. See it on Amazon →
Decanting into canisters gets expensive fast if you buy the pretty sets first — here is how to organize a pantry on a budget →
Meal prep and portion control (5–7)
5. Divided glass meal-prep containers
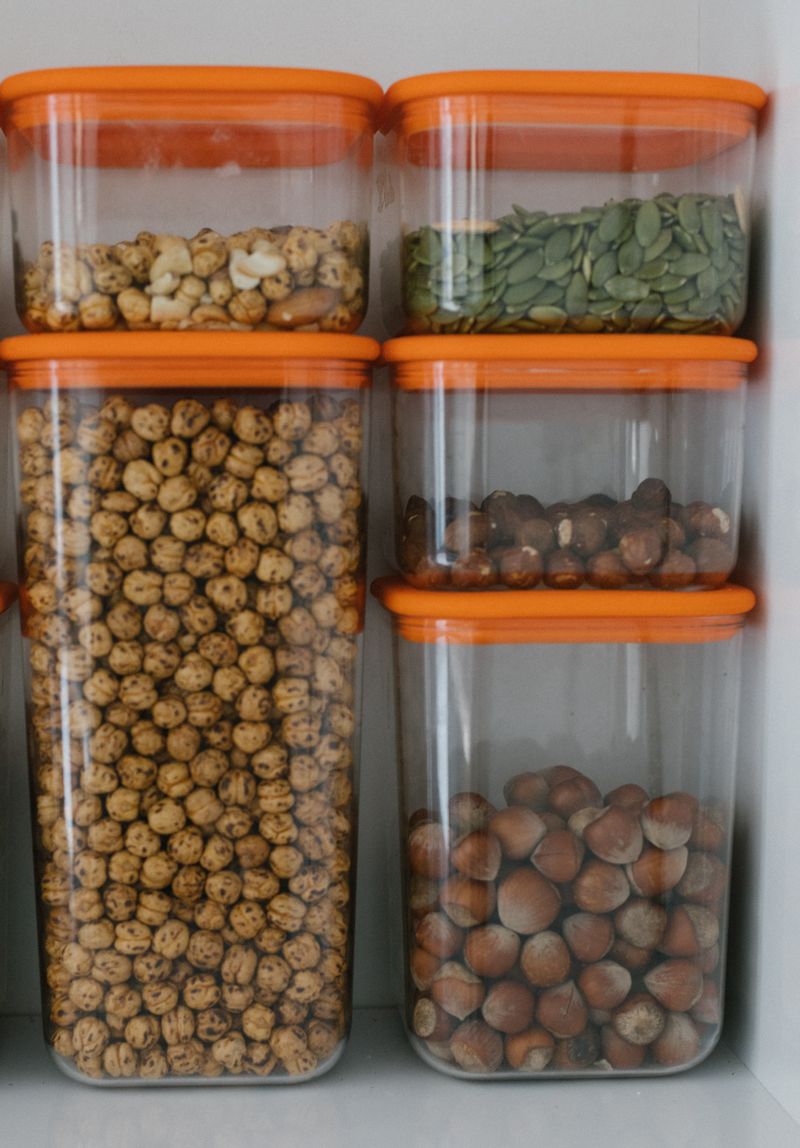
If you cook Sunday for the week, portioned glass containers are the tool that makes it stick. A three-compartment glass set keeps protein, grain, and vegetable separate so nothing goes soggy, goes straight from fridge to microwave to table, and stacks flat in the fridge instead of sprawling. Glass matters more here than anywhere: these get reheated constantly, and plastic in that role stains, warps, and degrades fast. Get lids with a vent or a corner tab you can crack for microwaving. See it on Amazon →
6. A mix of two- and three-compartment glass boxes
Not every meal splits into thirds. A set that mixes two- and three-compartment glass containers lets you match the container to the meal — halves for a main and a side, thirds for a full balanced plate — so you're not forcing a stew into a divided tray or wasting a compartment. Buying the mixed set instead of all-identical is the small decision that keeps prep flexible, and the leakproof locking lids mean you can throw one in a bag without a towel underneath. As a rule of thumb, a two-compartment box in the 30–36 oz range holds a main plus one side, while a three-compartment box wants 34 oz or more before the thirds stop feeling like sample cups. Buy roughly twice as many two-compartment boxes as three — most weeknight meals are a main and a side, not a cafeteria tray. See it on Amazon →
7. Deli-style containers for soup, stock, and freezing
The cheapest, most useful container in a serious kitchen is the humble round deli quart. A set of matched 32-ounce containers with identical lids stacks perfectly, freezes flat if you leave headspace, and is light enough to fill a freezer without weighing it down. Stock, soup, chili, portioned grains, brine — they take everything, and because every lid fits every base, there is never a hunt. Buy the big set; at this price they're the container you stop rationing. Leave about an inch of headspace when you freeze liquids: water expands roughly 9% as it freezes, and a quart filled to the rim will bow the lid off or crack the sidewall. Freeze them upright until solid, then they stack like bricks. One caution — deli containers are polypropylene, so they are microwave-safe for reheating but should never go in the oven or under a broiler. See it on Amazon →
Containers only pay off if the cabinets around them are working too. See the full small kitchen organization playbook →
Fridge and produce — where food actually spoils (8–10)
8. Produce savers that vent — buy for the berries
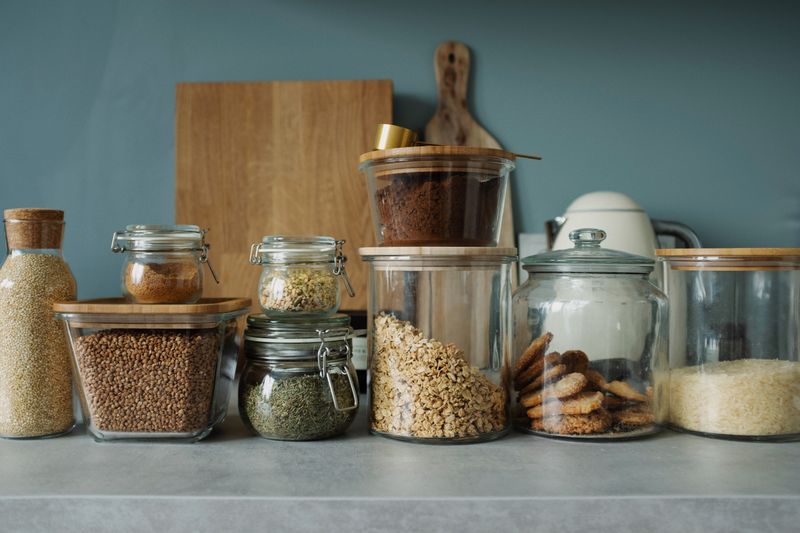
Most produce doesn't rot because it's old; it rots because it's sitting in trapped moisture. A produce storage container with a raised colander insert and an adjustable vent lifts berries, greens, and herbs off the pooled water at the bottom and lets you dial airflow to the item. The difference on a box of raspberries is days, not hours. This is the rare organizer that pays for itself in food you stop throwing away — start with one for berries and one for greens before buying a whole set. See it on Amazon →
9. Stackable fridge bins to make the shelves usable
A fridge shelf is a big rectangle of volume that gets used as a single flat layer, with the back third unreachable. Clear stackable bins with handles turn that into a pull-out drawer system — one bin for yogurts, one for lunch stuff, one for the kids' snacks — so you slide out the whole category instead of excavating. Grouping by who or by meal is what stops the weekly "we have nothing" in front of a full fridge. Get bins with handles and a size that matches your shelf depth. See it on Amazon →
10. Reusable wraps to retire the plastic-wrap habit
Half of small-kitchen food storage isn't a container at all — it's covering a bowl, wrapping a half-onion, sealing a hunk of cheese. Reusable beeswax wraps mold to a bowl rim or fold around produce with the warmth of your hands, wash and reuse for a year, and cut the roll of cling film that never tears where you want it. They store flat in a drawer taking almost no room, which in a small kitchen is the whole point. Hand-wash in cool water with a little mild soap — hot water melts the beeswax coating and the wrap stops clinging for good, which is the single most common way people ruin them. They handle produce, bread, and hard cheese well; skip them on raw meat and fish, where the wax cannot be sanitized. When a wrap finally goes limp after a year or so, most brands can be refreshed in a 200°F oven for a few minutes on parchment. See it on Amazon →
Steal our pantry starter sheets (free)
An aisle-by-aisle grocery list + a ten-minute pantry inventory — the two pages that make a reset actually stick. They're part of our new Small-Space Pantry Bundle (310+ labels + 7 planner pages, $12).
Get the free sheetsThe other cabinet that swallows containers is the one under the sink — here is how to organize under the kitchen sink →, plus our running list of Amazon kitchen finds under $30 →
The organizers that make containers work harder (11–14)
11. A stackable can rack for the pantry
Canned goods are the single most space-wasting item in a pantry because they get stacked two deep and the back row becomes invisible archaeology. A three-tier stackable can organizer angles cans so they roll forward as you take one, keeps the whole inventory visible, and doubles your usable can storage in the same shelf footprint. It handles standard soup and vegetable cans, and because it stacks, you can add a second tier when the pantry grows. This is the cheapest fix on the list for one of the most common pantry failures. See it on Amazon →
12. Matching spice jars to end the spice avalanche
Mismatched spice jars are a small kitchen's most reliable source of daily friction — different heights, illegible labels, and the one that falls out every time you open the cabinet. A set of matched glass spice jars with a full sheet of printed labels standardizes the whole rack to one footprint, makes every spice readable at a glance, and fits a drawer insert or a wall rack cleanly. Decant, label, and you turn a shelf of chaos into something you can actually shop from while cooking. Wide-mouth jars are worth it for getting a measuring spoon in. See it on Amazon →
13. A bread box to stop counter sprawl
Bread has nowhere good to live: on the counter it stales fast and takes prime space, in the fridge it goes stale faster, and in a cabinet it gets crushed. A countertop bread box gives it a defined home with the right humidity to keep a loaf fresh for days, and a good one uses a small footprint with a window or a lid that doubles as a cutting surface. In a small kitchen the real win is boundary: bread stops migrating across the counter because it has one box, and the counter stays clear. Measure before you buy: a standard sandwich loaf is about 12 inches long, so a box under 13 inches of interior width will not close on a bakery loaf. Store bread cut-side down on the board rather than in its plastic bag — the box holds just enough humidity to keep the crumb soft without turning the crust to leather, and a sealed bag inside a bread box is what makes loaves go moldy early. See it on Amazon →
14. A lid organizer — the fix for the worst drawer
Even a matched container collection generates a pile of lids, and stacked flat they slide, nest wrong, and vanish. A lid organizer with adjustable dividers stands them upright by size so you pull the one you need in a second, and it drops into a drawer or a cabinet shelf to reclaim the space the lid avalanche was eating. Pair it with the discipline of owning one or two lid systems and the single most-cursed corner of the kitchen quietly stops being a problem. Adjust the dividers to your actual lid sizes, not the factory spacing. See it on Amazon →
Freed up a stretch of counter by decanting? That is exactly where a small-kitchen coffee bar → fits.
How to choose without over-buying
The mistake isn't buying cheap containers — it's buying many systems. Every incompatible set multiplies the lid problem and wastes the gaps between mismatched shapes, so the single most useful rule is to own as few systems as the jobs require: one glass set for leftovers and prep, one plastic set for freezing and transport, one canister line for the pantry. Within each, favor square and rectangular over round, because straight sides sit flush and round ones leave dead triangles on every shelf.
Buy in impact order rather than all at once. Start with the glass set, because it replaces the most failing containers and does the most jobs. Add the pantry canisters next, since decanting dry goods is the change that makes a pantry look and function like a different room. Then fix your specific bottleneck — the fridge bins if the fridge is the mess, the produce savers if you're throwing away berries, the lid organizer if the drawer is the daily curse. After that, stop and cook for two weeks before buying more. Most kitchens discover the remaining problem wasn't a missing container at all — it was owning one system too many, and the answer is retiring the orphans, not buying a fifteenth tub.
Same logic applies past the kitchen: small apartment organization ideas → and, if you cannot drill or mount anything, renter-friendly storage ideas →
Save this for later
Pin this guide to your pantry board so it's there on your next kitchen reset.
Save to PinterestPin these ideas
Tall, save-ready images for your organization boards.


One small-space idea, every Sunday
Join and we’ll send the free pantry starter sheets right away, then one organization idea worth your time each week. No clutter — obviously.
FAQ
- What are the best food storage containers for a small kitchen?
- Buy one system that stacks, not a drawer of mismatched tubs. The highest-value picks are a borosilicate glass set with matching lids for leftovers and prep, a modular airtight canister set for pantry dry goods, and stackable fridge bins to make the shelves usable. Matching footprints and interchangeable lids are what let a small kitchen actually hold more.
- Are glass or plastic containers better?
- Glass for anything you reheat, store acidic or oily food in, or want to keep for years — it doesn't stain, warp, or hold odors, and borosilicate survives fridge-to-oven. Plastic for the freezer, for lunchboxes that get dropped, and for keeping weight and cost down. Most organized kitchens use both.
- How do I keep container lids organized?
- Standardize, then contain. Own one or two lid systems so lids interchange, then stand them upright in a lid organizer with adjustable dividers instead of stacking them flat where they slide and vanish. Most lid chaos is a too-many-systems problem, and the fix is one matched set plus retiring the orphans.
- What sizes do I actually need?
- Small (1–2 cups) for nuts, sauces, and single portions; medium (3–4 cups) for leftovers and prepped grains; a few large (6+ cups) for batch cooking and salads. Buy a graduated set rather than ten of one size, and favor square or rectangular over round so they sit flush with no wasted gaps.
- What should I buy first?
- Start with the glass set — it replaces the most failing containers and does the most jobs. Add pantry canisters next, then fix your specific bottleneck: fridge bins, produce savers, or a lid organizer. Live with it two weeks before buying more; the remaining problem is usually one system too many, not a missing container.
- Can glass food storage containers go in the freezer?
- Yes, if you leave room and skip the temperature shock. Borosilicate and tempered glass both freeze fine, but liquids expand about 9% as they freeze, so leave an inch of headspace and freeze with the lid ajar until solid, then seal. The failure mode is not cold, it is sudden change: never move a container straight from the freezer into a hot oven, and never set a frozen dish on a wet counter or under hot tap water. Thaw in the fridge, or let it sit out 20 minutes before reheating.
- How do I stop plastic containers from staining and holding smells?
- The pigments in tomato sauce and turmeric are fat-soluble, and polypropylene is slightly porous and oil-loving, so heat drives them into the plastic and they do not rinse out. Prevent it by rinsing in cold water before the container ever sees hot water or the dishwasher, and by reheating oily or tomato-heavy food in glass instead of plastic. To fix an already-stained container, scrub with a baking soda paste, then set it in direct sunlight for a day — UV bleaches out most of the orange. If a smell survives that, the plastic is saturated and the container is done.